Category Archives: Customized Builds

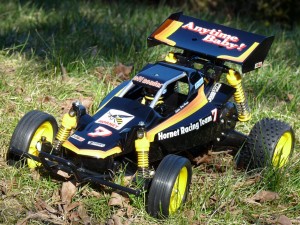
Tamiya Hornet 2014 ?

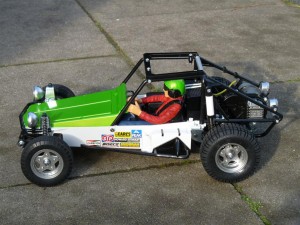
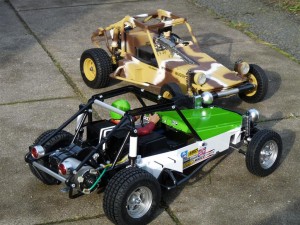
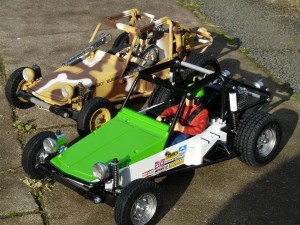
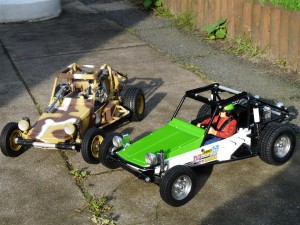
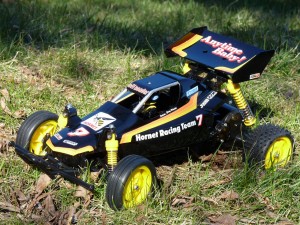
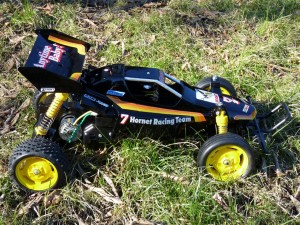
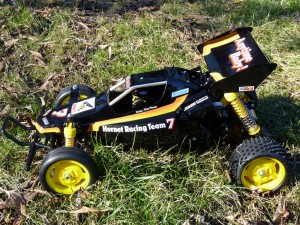
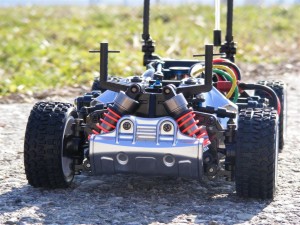
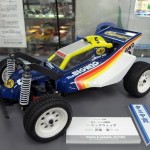
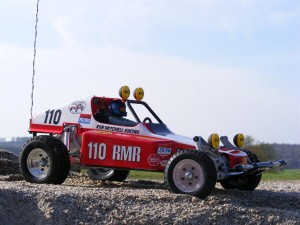
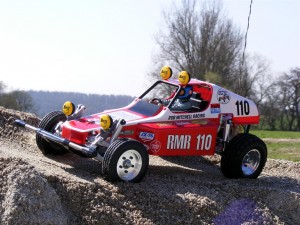
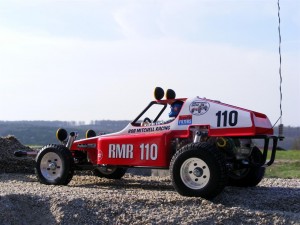
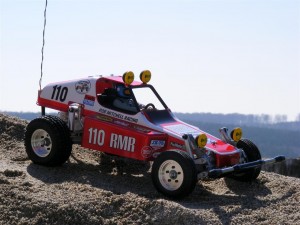
As Tamiya made a new version of my first Tamiya RC car (Holiday Buggy) on a newer and improved chassis 30 years later, I decided to do the same for my second Tamiya RC car, The Hornet, also to tribute the Tamiya’s most sold RC car with 700.000 pieces, not counting the recent re-release! Since its basic chassis and gearbox design still is used on a current kit (Rising Fighter), the base choice was obvious, as in my humble opinion, the reliable, light and fast rear solid axle gives the Hornet its “personality”. I tried to adapt the re-release Hornet decals as well as possible on the different body which I painted black.

Only hop-ups used were ball bearings as well as yellow CVA dampers and yellow Super Fighter G wheels as I think they match the colour concept better then the original white wheels, something which Tamiya also did on the Super Hornet. In times of modern ready-to-run high-tech buggies, the Grasshopper/DT-01 chassis seems an extreme anachronism, but it brings great memories to many hobbyists and with its great robustness and simplicity is still a good choice for young beginners, not to forget that on a straight line it is faster then any modern “weapon”.

Hope the simple and successful solid axles will stay even longer in the Tamiya program, lets not forget that also Midnight Pumpkin/Lunchbox and Clod Buster are some of the most and longest produced RC cars ever and maybe Tamiya will come up with something similar in 2014 to celebrate 30 years of Hornet, who knows, maybe in the future power efficiency will be important combined with solar or hydrogen drive concepts and then this primitive chassis will be modern again…

Rally Ready – Tamiyablog Suzuki Swift M-05Ra

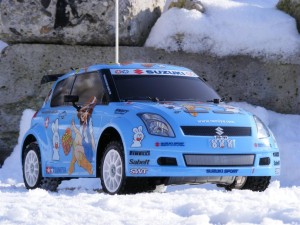
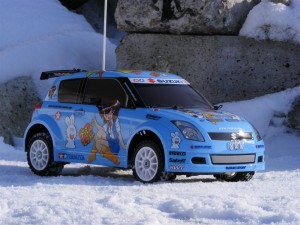
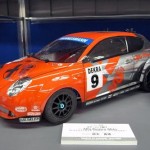
Rally Up a M-chassis car. This was only a dream many years before.  But sometimes dreams come true, and now you can build your own Mini Rally Car from a kit. Two types, the Suzuki Swift Super 1600 and Alpine A110 are available at the moment. The Alpine also as an XB-Version.
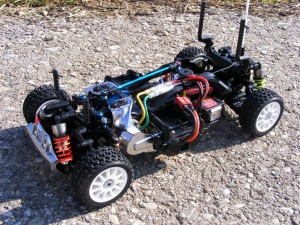
To give the chassis more ride height, Tamiya uses new designed F-Parts for the M-05Ra.  It´s a big advantage that you can build the chassis also with the standard M-05 ride height.  So it´s no problem to use your M-05Ra machine also for normal M-Chassis  street racing without using extra parts. Different attaching points on the C-Hubs are making this possible. Our car is equipped with some of the most popular Hop-Ups used in the M-Chassis scene, like full ball bearings, universal shafts, oil filled shocks and a ball diff. I used the new M-05 Ball Diff in combination with the new M-05Ra reinforced Differential joint set. Although i´ve heard about some durability problems with the new M-05 ball diff.  But, time will tell. Another tip, if you want to use oil filled shocks on your M-05Ra,  the 54000 M-Chassis damper set isn´t recommended here. These are fantastic dampers, but they are too short for the M-05 Ra Rally Setup. They are only useable with the normal M-05 ride height. Standard sized touring car shocks are ideal  for this car, like the  Tamiya black Super Mini C.V.A. shocks or the classic Tamiya 53155 Aluminum damper set. If you use the super Mini C.V.A. Shocks you have to take note that the shock pistons are long enough, because on some cars, Tamiya uses shorter pistons for the Super Mini C.V.A. Shocks. Furthermore we used a Tamiya High Tourque servo saver + a strong metal geared digital servo in combination with the good and well priced 3Racing carbon steering set.  Gives a much more precicse steering mechanism.
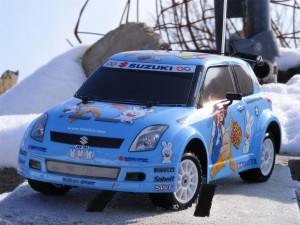
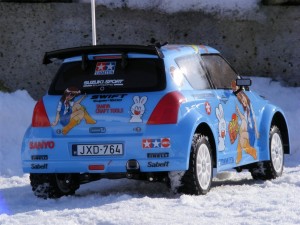
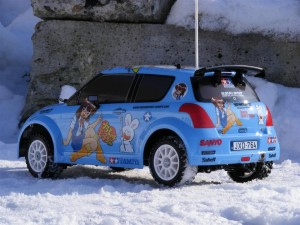
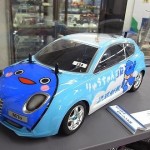
Ok, that was on the technical side.  Now some words about the body.  As seen on the Tamiya M-05 Abarth 500 body before, Tamiya made some small but nice changes to the Suzuki Swift body parts.  You can now use LED´s on the front and back of the car. This adds a much more realistic look. As a regular reader you may know, we always like to use alternate paintschemes on our bodies. A normal and understated “Skyblue” was used for the little Suzuki. But looks great, using the Tamiya mascot sticker set.

Thank you very much for reading.

Enjoy M-05Ra !

Holiday’s Out

“Holiday’s out for winter, holiday’s out forever”
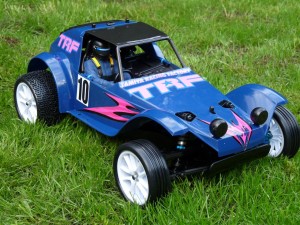
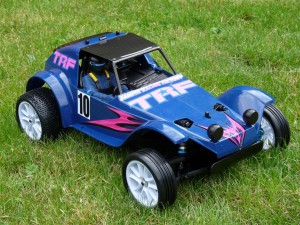
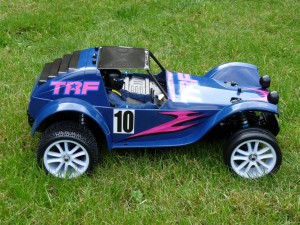
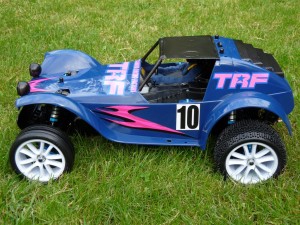
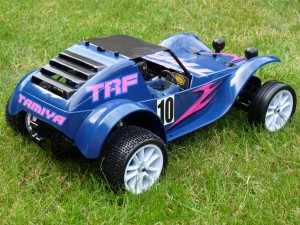
in similarity to Alice Coopers 1972 “School’s Out” song. Why is Holiday out? Because now at the end of summer 2010 the Holiday Buggy is out again to get more young kids into this marvellous hobby like it took me in 1983. Because I decided to make my first HB 2010 not an innocent buggy for holidays but a capable performer, something I always wanted as a kid when other buggies were faster and better performing (being a big HB fan I have more HB 2010 projects in the pipeline, so stay tuned).

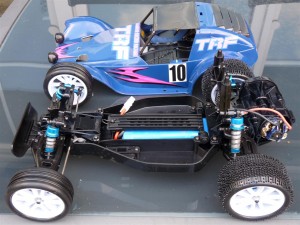
Actually I had different plans with this “racing HB”, but as 3 different primers I tested didn’t hold acceptably for a powerful runner , I stayed on the original blue colour, matched with pink decals, in similarity to the blue/pink TRF car paint schemes. To give it a more racing look and to reduce weight and especially centre of gravity, a lighter driver cockpit and lexan roof in carbon fibre look were adapted to the body. Race wheels and tires, aluminium oil dampers and uprights, universal shafts, ball differential and hotter motor with metal mount were added for better chassis performance and to match the body colour with their blue anodizing.

Initially there were quite a lot of negative voices to this release as many people took or expected it more as a classic re-release. Looking at its simple but genius construction and manual you realize its not just a re-release but more a great and nice-priced beginners car which performs tons better then the old one and can be easily improved even further but still looks nice and isn’t just a generic lexan blob. When I was taking photos of it for this article sometimes the automatic face detection was activated with its front 2 headlights. I think this tells a lot about its personality. When I was a kid the 2 front headlights with the blue-yellow front stripes reminded me of a smiling face. I can’t wait to run my new one now and being a kid again, 27 summers after.

Sherman T1E3 mine-exploder conversion

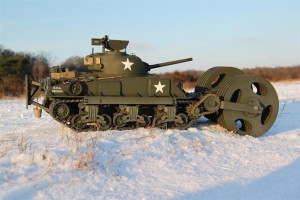
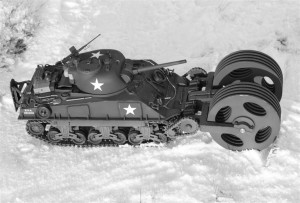
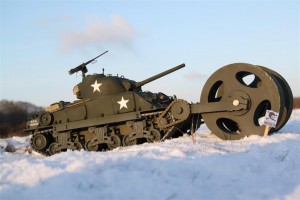
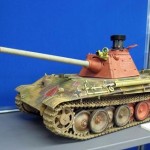
A very interesting conversion from Leonard from the Netherlands who is a member of Battletanks Nederland, here is his description:

“After I built my first tank (a Tamiya Panther G), I wanted to make a conversion of the Sherman tank. In a book I found some pictures of this strange looking mine clearing tank.

History:
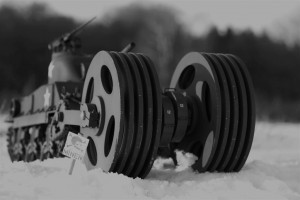
In May 1944 two prototypes of the Sherman with T1E3 mine-exploders were sent to Britain. They were demonstrated to US and British officers. These tanks were nicknamed “Aunt Jimima” after a popular pan cake mixes logo, because somebody thought the big exploder wheels resembled gigantic pancakes. The Whiting Corporation built at least75 T1E3s between March and December 1944 (some reports say 200 were built). At least 27 of them saw action with the US first army in France, Belgium, Germany and with the 7th (?) army in Italy. The T1E3 wasn’t very practical, it took the space of 2 or 3 football fields to make an U-turn and with it’s 54 tons it often got stuck in the mud so a pusher-plate (or bumper) was attached to the rear of the tank to permit another tank to get behind the mine-exploder tank and give it a push.

Driving the tank requires much practice and patience, the disks of the mine-rollers sit loosely on the shafts so they can move. I estimate that the turning radius is about 30 meters! Making shorter turns is possible by letting the tank slide sideways but I am afraid this is a heavy burden on the gear boxes. The bumper on the rear is strong enough for another Sherman to give it a push when stuck. The tank has plenty of power to handle the extra weight and can even climb uphill. It is equipped with a battle-unit (BU) but it isn’t able to move around the battlefield quickly. The mine-exploders can be removed easily without the use of any tools, so it can be used as a normal tank as well. ”

Return of the Champ

Before Tamiya announced the return of the Buggy Champ in 2009, I never thought this would ever happen. But as we all know, Tamiya surprised us with fantastic re-releases over the last years. And finally after the release of the Sand Scorcher 2010 it seems that Tamiya is possible to make every dream come true.
For me it was a real experience to build such a historic car. I´ve restored a Super Champ in the past, but to build a SRB from new is another thing.
As a regular visitor on tamiyablog, you may know that we try to use different colours and paintschemes on most of the Tamiya re-releases. So this Buggy Champ is no  exception.
This time Tamiya “TS-39-Mika Red” was used.  The car is totally stock, except for the alloy wheel covers which give a more authentic look to the whole car. Sometimes, it seems unreal for me. You can really buy new SRBs ?
Again, a big “THANK YOU” to our favourite company.

Welcome home son!


The new son meets his 31 year old father. Thank you again Tamiya for making such possible, giving every Tamiya-fan the opportunity to build a NIB SRB, a must-do in the life of every Tamiyast (like a planting a tree)! Unfortunately weather is poor and photos don’t give the chosen paint tones fully justice, especially the champagne gold.

Tamiya Drifter Japanese Style

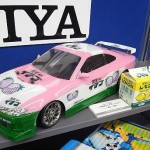
Since I am long fascinated by the fantastic creative Japanese drifter bodies and drifting style, I wanted also to make a drifter in that style, hope I succeeded at least a bit. Chassis is a Tamiya TA03F Pro which is great for drifting due to its front motor and weight balance, body is a Tamiya Nismo Silvia with custom decals and paint, tires are Tamiya Driftech on gold painted wheels.