Category Archives: Customized Builds

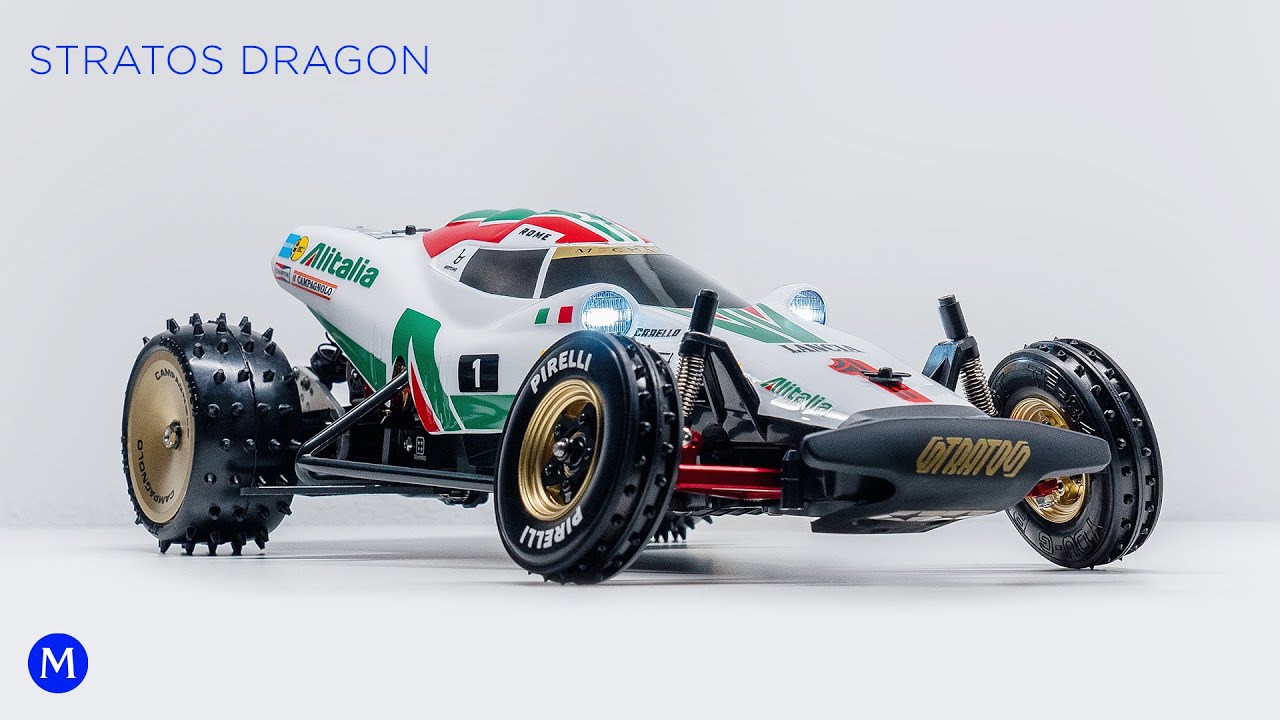
A clever scheme built in time lapse – Tamiya Lancia Stratos Dragon

Click on the link to watch the build video in YouTube.

This is a time lapse build of a custom Tamiya Super Storm Dragon adapted into a Lancia Stratos Rally buggy concept. At the end of the video I show the complete results. Of the Tamiya Grasshopper chassis, the Super Storm Dragon (SSD) body in it’s box art form is my least favorite—but I’m sure it’s relevant and admirable to fans of the ‘80s Japanese manga/anime RC series where the Storm Dragon originated from. I also feel the body is too long for the chassis but perhaps that was the intent. It’s probably supposed to represent a slender mythological Eastern Asian dragon but all I can see is Falkor from the Neverending Story. However, I do like the greenhouse (windshield). Whenever I see it one thing comes to mind—the Lancia Stratos HF from the 1970s.

I wonder if the illustrators of the SSD got inspiration from the Stratos, if they did I wouldn’t be surprised. The Italian Stratos came out in the ‘70s and was purely developed and designed for the World Rally Championship. Designed at Bertone by Marcello Gandini (he also did the Lamborghini Miura and Countach, Ferrari Dino 308 GT4, and De Tomaso Pantera to name a few). Timeline wise, the SSD came out in the early ‘80s and that Stratos’ greenhouse was already an iconic thing. I always thought if an SSD fell on my lap I would frankenstein it into a buggy version of the Stratos. And so over a year ago I came across an SSD on sale for about $86 USD and I couldn’t pass it up.

I didn’t want to slap stickers and call it a day. I wanted to at least have a little effort in translating it. The SSD body was trimmed and shortened (the Stratos has a relatively short body/wheelbase). I wanted to stay within the rally Stratos color palette and that also meant a careful selection of the parts and electronics color.

Since I don’t have any off-road track in my area I knew this would run on tarmac or very abrasive surfaces. I installed a Tamiya Super Stock RZ (on-road 23T, 27k RPM) and at least had to upgrade the stock rear dampers with big bore ones (plus 500 damper oil and hard springs) and compress the front springs for a stiffer ride. The rear suspension axle mount was replaced with an aluminum one that can accommodate the beefier dampers. In addition, a longer 8mm T4 Works rear billet aluminum hanger was added with a makeshift mount/brace to lock the rear suspension in place—just like the Grasshopper’s. I feel the Grasshopper performs better on flat surfaces vs the Hornet due to the rear suspension design—the SSD has the Hornet’s. The front arms and suspension brace were upgraded to aluminum, the servo saver/steering rod was replaced with T4works aluminum servo saver and steel turnbuckles. Of course the plastic bushings were all replaced with metal ball bearings. The result is very apparent when running it. It’s quite stable, runs straight and fast, and the suspension just right (not as bouncy). A few caveats: because the front suspension is set very low and the aluminum arms/knuckles are not adjustable, it has more negative camber than I would like. That would probably be an area I would fine tune in the future. The aluminum arms creates some rattling noise as it doesn’t have a snug fit. I think adding rubber sleeves on the connection points to the chassis might solve it. To further improve handling, I need to replace the tires (didn’t have the right ones when I did a test run). And for the first time I tried a Dynamite ESC and I think it’s a tad glitchy. With some more fine tuning work, this setup can be quite a serious basher.

All this work and parts are not to just add bling. I genuinely wanted to find out what the potential of this iconic beginner chassis is. Ironically, I think it’s not worth it if you just want a simple basher (at least on tarmac/flat surfaces). If you’re going to “casually” run this on flat hard surfaces, I wouldn’t bother with this Hornet/Storm Dragon chassis. I highly recommend going a step down and getting a Grasshopper instead. I’ve built a Grasshopper for someone and tried a variety of motors in it (380, Sport Tuned 380, 540 silver can, and Torque Tuned 540) and once we got to the Torque Tuned motor, it was lively, fun, just right, and relatively precise. In fact, I love how the Torque Tuned Grasshopper drives that I can’t wait to drive it again. However, this Stratos Dragon evolution definitely has more potential.

Parts:
Tamiya Super Stock RZ Motor
KO Propo KR-212FHG receiver
Dynamite DYNS2210 ESC
AGFRC B44LS low profile servo
Metal ball bearings
Robinson Racing steel pinion gear
T4 Works: aluminum servo saver, steel turnbuckles, aluminum motor mount, 8mm billet aluminum hanger, aluminum wheel star disk
YR Big Bore rear dampers
Generic rear aluminum suspension mount
Avante front bumper
M&M rear bumper
Associated rear wheels
Schumacher rear tires
You-G Japan front tires
Tamiya Black DT02 front and rear wheels
Tamiya DT02 front tires
Tamiya Dual Block rear tires
Tamiya rear hex adapter
GPM alloy parts (front arms and brace)
Custom decals

Source: Mechanic After Hours
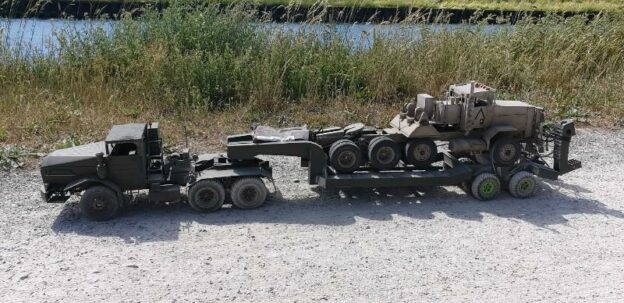
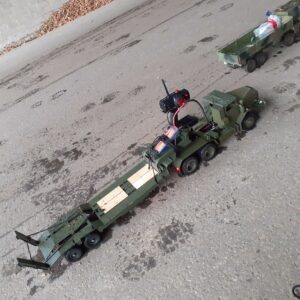
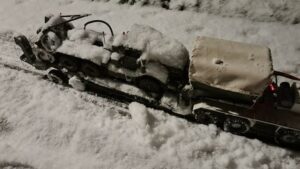
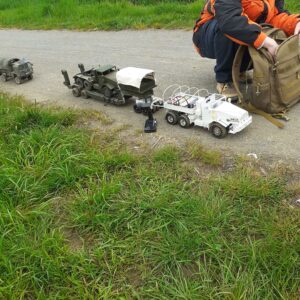
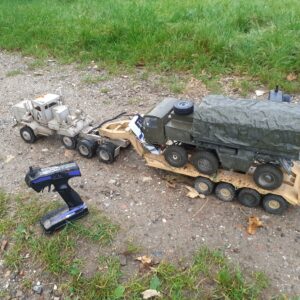
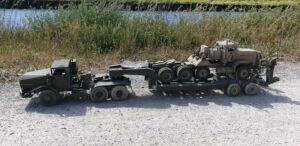
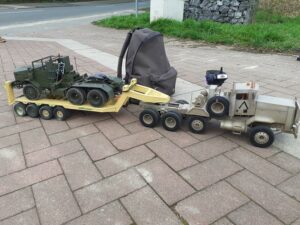
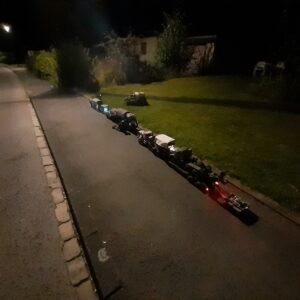
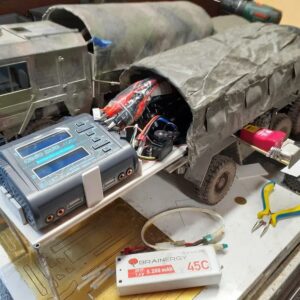
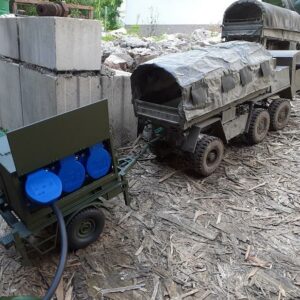
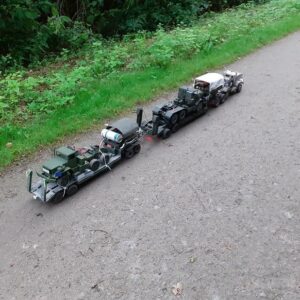
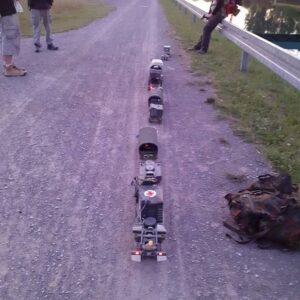
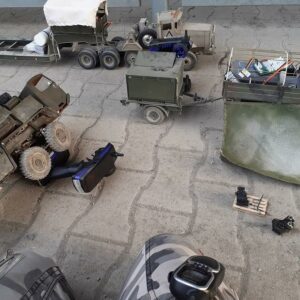
Modified trucks based on the Tamiya 1/14 RC trucks driving huge distances in convoys

One of our readers kindly sent us photos and details about their hobby project based on Tamiya 1/14 RC trucks which we gladly publicise here:

I am happy I can show you our project. We did start Trucking 3-4 years ago, mainly we use them just as support vehicle for our tank battle days, recovery or just as spare part supply trucks in the fields. Surely sounds strange but our playground is always relatively far away from the parking place so the trucks help us. Than a cheap truck brand showed up and I wanted to test it what is possible with it and start a walk but mostly it did break down after 4km. After a wile some of our tank battle friends showed up to and the first Konvoi was made about 10km.

Some of us got heavy problems with the feets so we did break of after 60km. That was a pain, but we also had a lot of failures, but now we are 300% better than last year so I think it could be successfull in 5 weeks.
Here you can find our website and most of our trucks listed https://www.ludwigs-hobby-seite.de/Konvoi%20Projekt%20Bochum%20Salzkotten.html or here in Facebook https://www.facebook.com/Konvoi-Bochum-Salzkotten-2020-107063594122942/. If you have questions or want to hear more stories of our trails let me knew. Our drives are normally: 10km for technical measurements, 30 and 40 km for conditional training and long term tests. So it becomes a join between marathon sports and modelling lol but that’s whats make it so impressive and challenging for us. I can tell everyone, just to try it. Surely old guys trailing with little truck looks funny, but all kids love us and most of the people we meet on the trails.

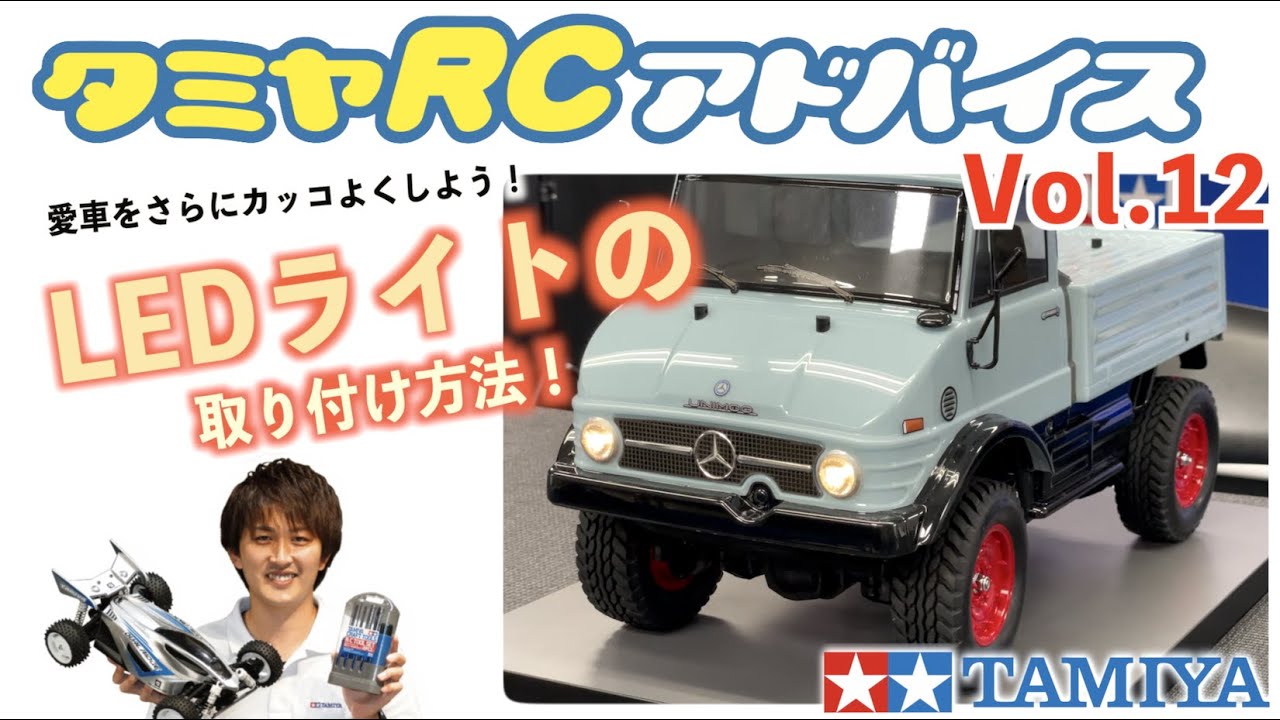
Tamiya RC Advice Vol.12 – Introducing how to install the LED light (1)


Dressing up the machine is also a big attraction of the hobby RC car. This time, I will explain how to install the LED light, which is easy to install and improves the feeling of the actual vehicle.
Products introduced in the video
58692 1/10 RC Mercedes-Benz Unimog 406 (CC-02 chassis)
53909 Tamiya LED Light Unit (TLU-01)
54693 Double-sided tape (20mm x 2m)
54351 Aluminum glass mesh tape
54600 Tamiya LED Light (φ5 Halogen White)

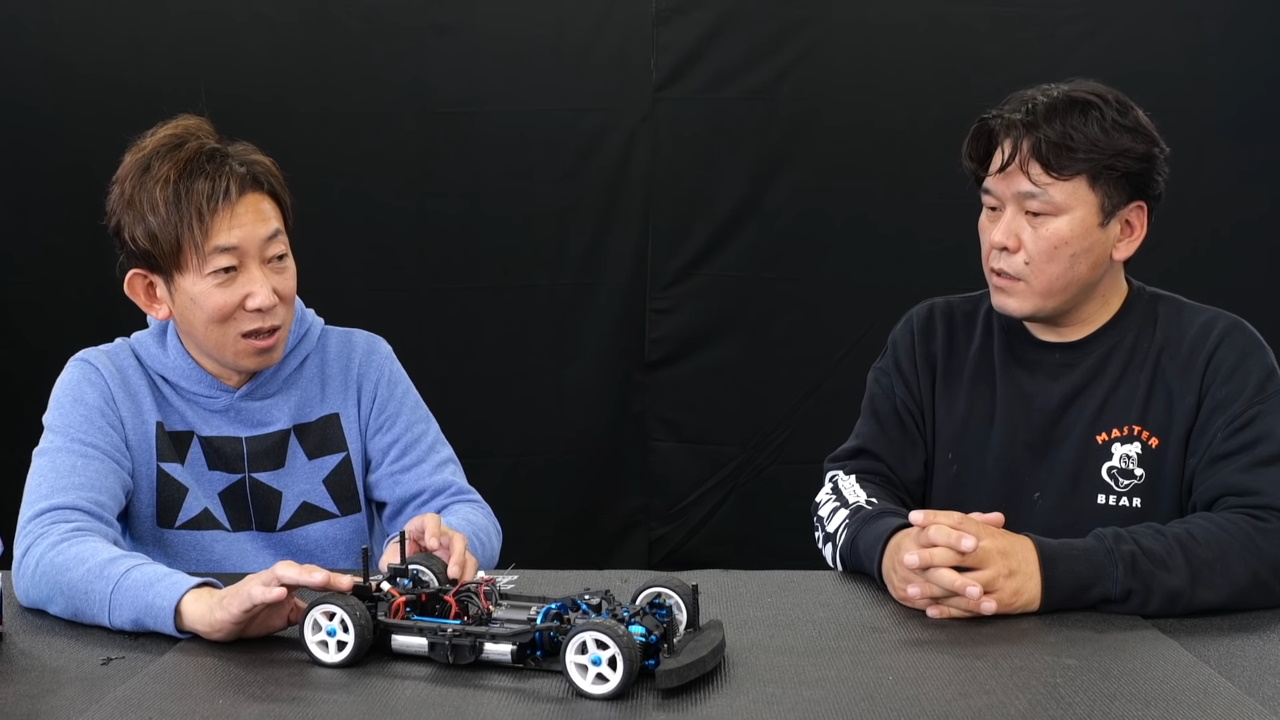
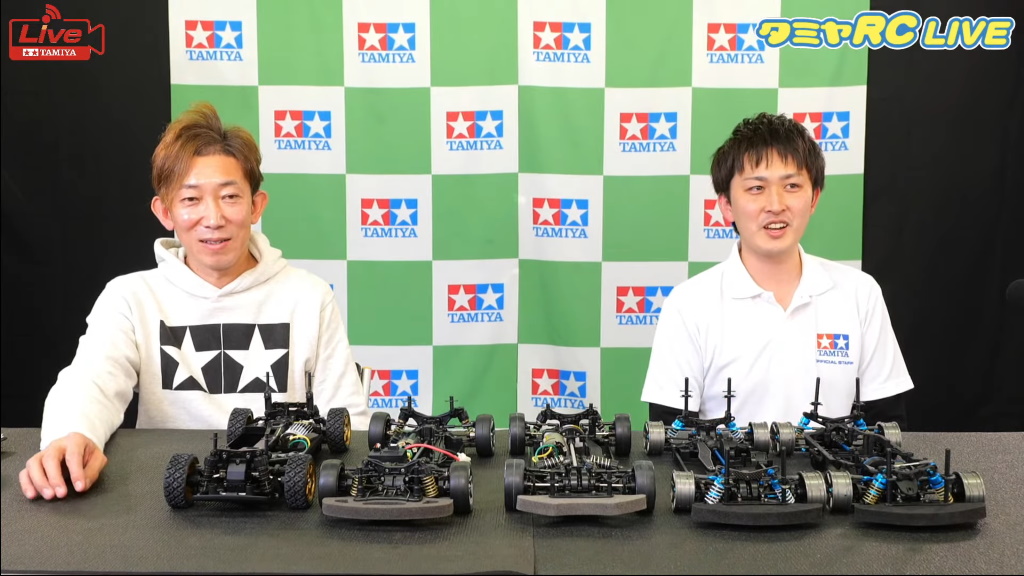
Tamiya RC Live – Sanotake’s setting nationwide & introduction of optional parts that can be used with TA08 PRO and Tamiya RC high-tech course


This time, Paisen’s setting course was revised …
Paisen’s settings are unified nationwide! !! !!
The first guest to commemorate! !! !!
It was Mr. Sanotake ~
Thank you ☆ ★


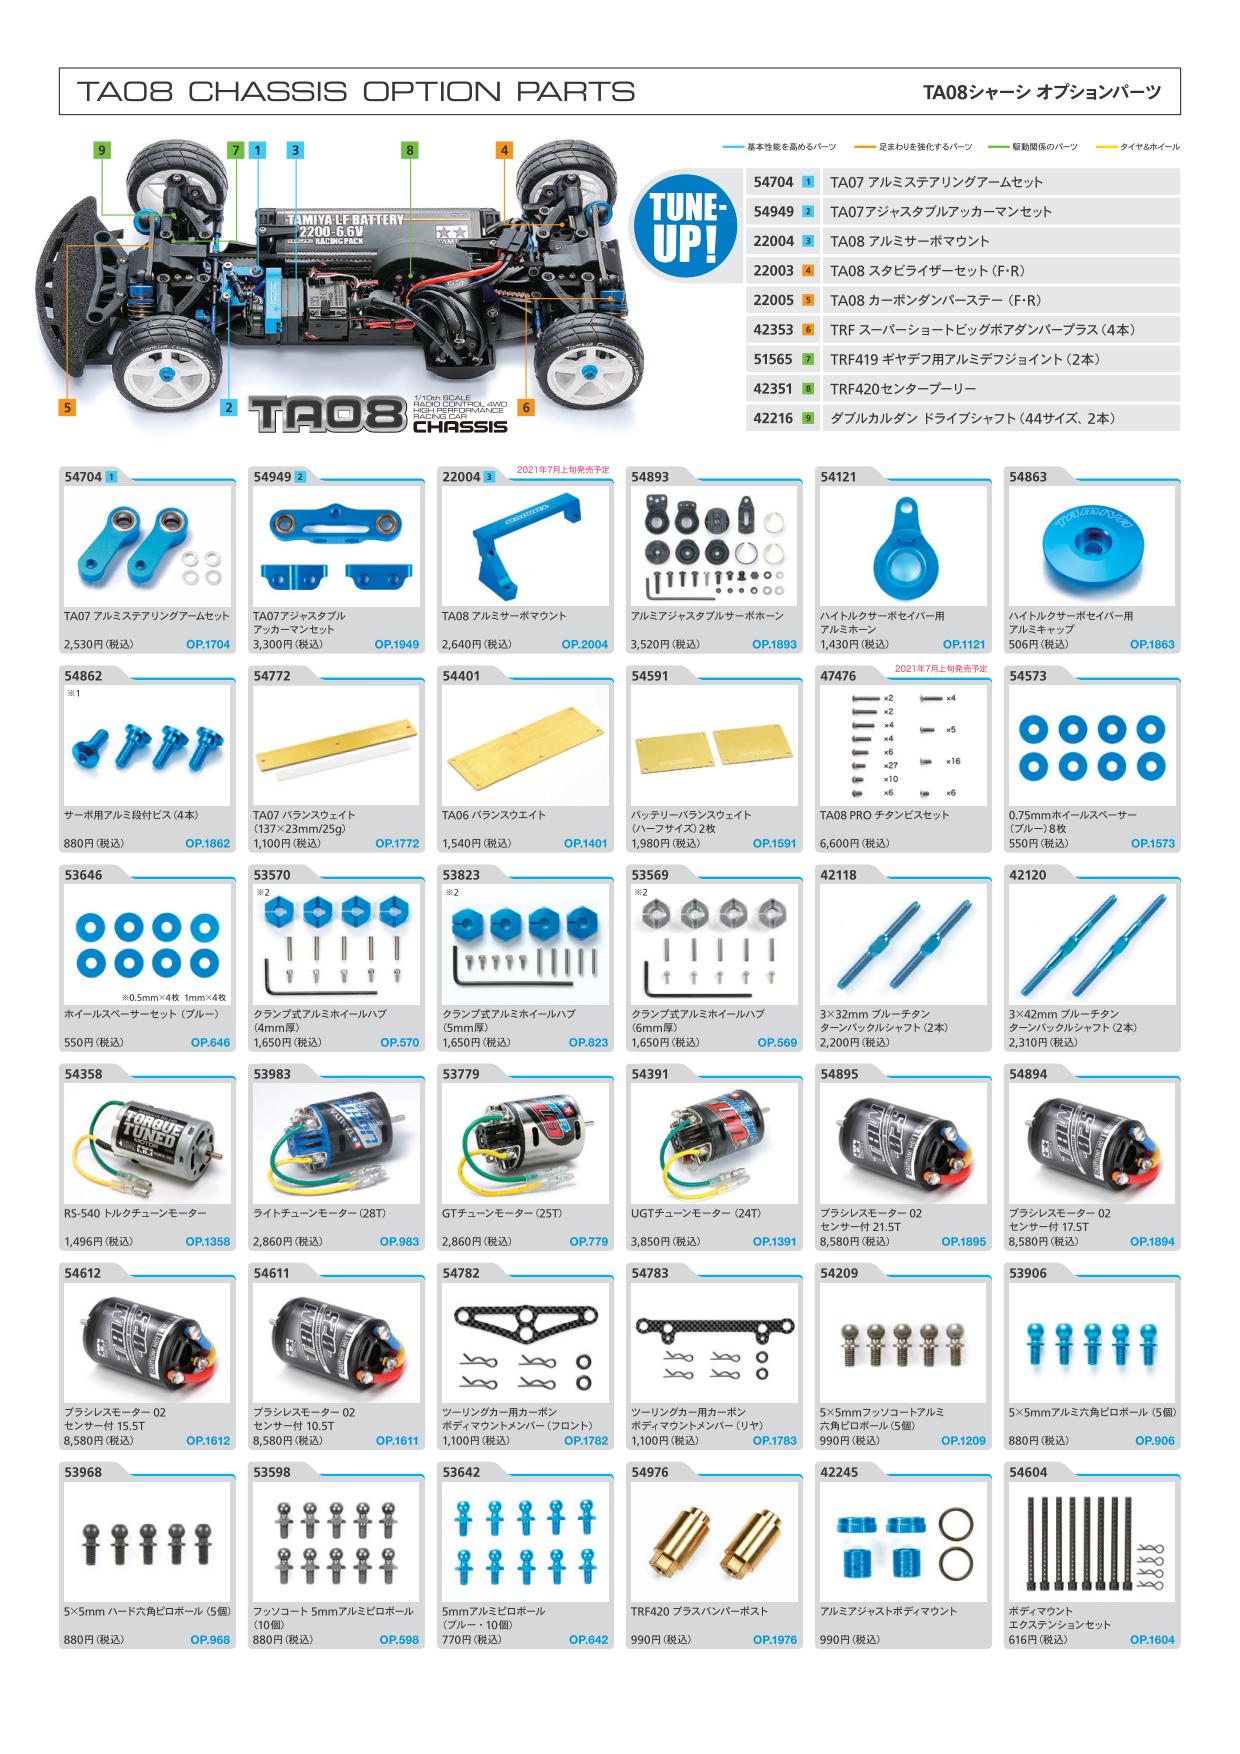
We inform you about the optional parts information that can be used for TA08 PRO. Recommended parts information for Tamiya Maezumi Select!
・ In the popular Tamiya RC high-tech course, we will tell you how to make and adjust ball diffs.

Appearance
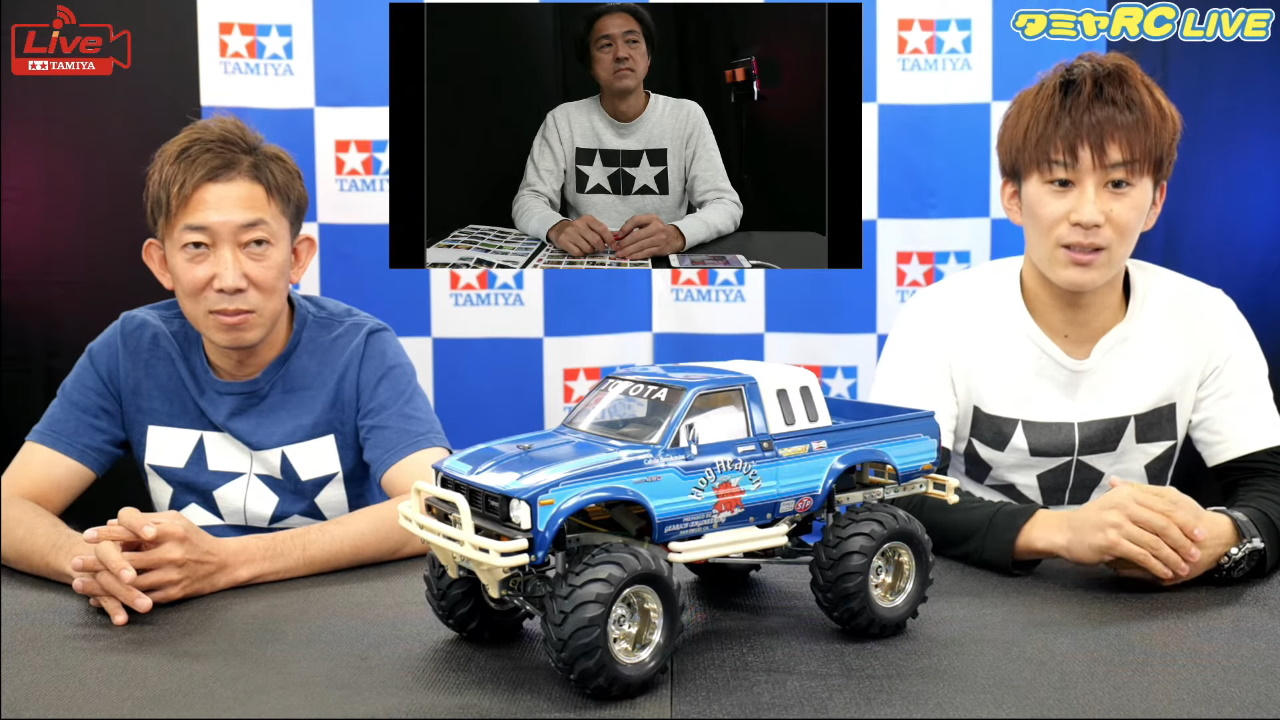
Tamiya Satoshi Maezumi, Riku Sunahara, Akihiro Ohata, Takayuki Kono

Tamiya RC Live – Introduction of the 59th Shizuoka Hobby Show and Tamiya RC History


・ Introducing the work of “#Tamiya RC Photocon” held as a posting project on Twitter. From over 450 posts, we will look at cool driving scenes, life with RC, interesting images, etc. with everyone with comments. Of course, the announcement of excellent works!
・ Introduction of Tamiya RC History ➉. At the time of release, the “Hot Shot” that was the target of junior drivers’ longing will appear!


・ Introducing the “59th Shizuoka Hobby Show” held at Twin Messe Shizuoka on May 13th and 14th!
・ Introduction of Tamiya RC History ⑪. “FOX”, which is said to be the 2WD version mechanism of hot shots, will also appear !!

Tamiya Mini 4WD First Try Parts Set Pamphlet Introduction

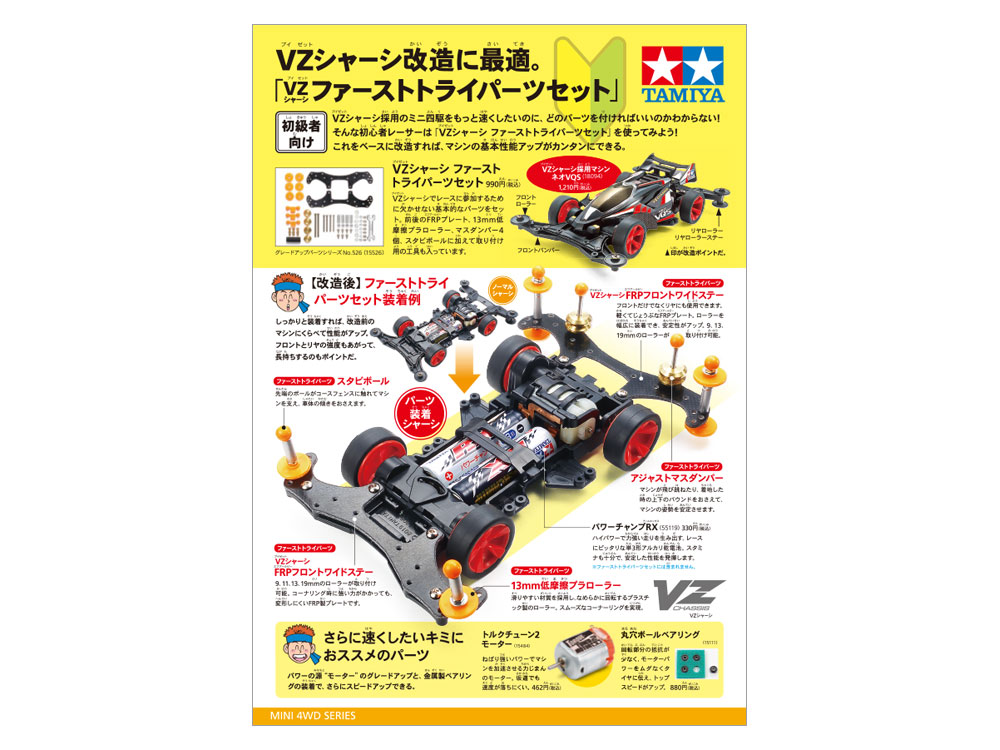
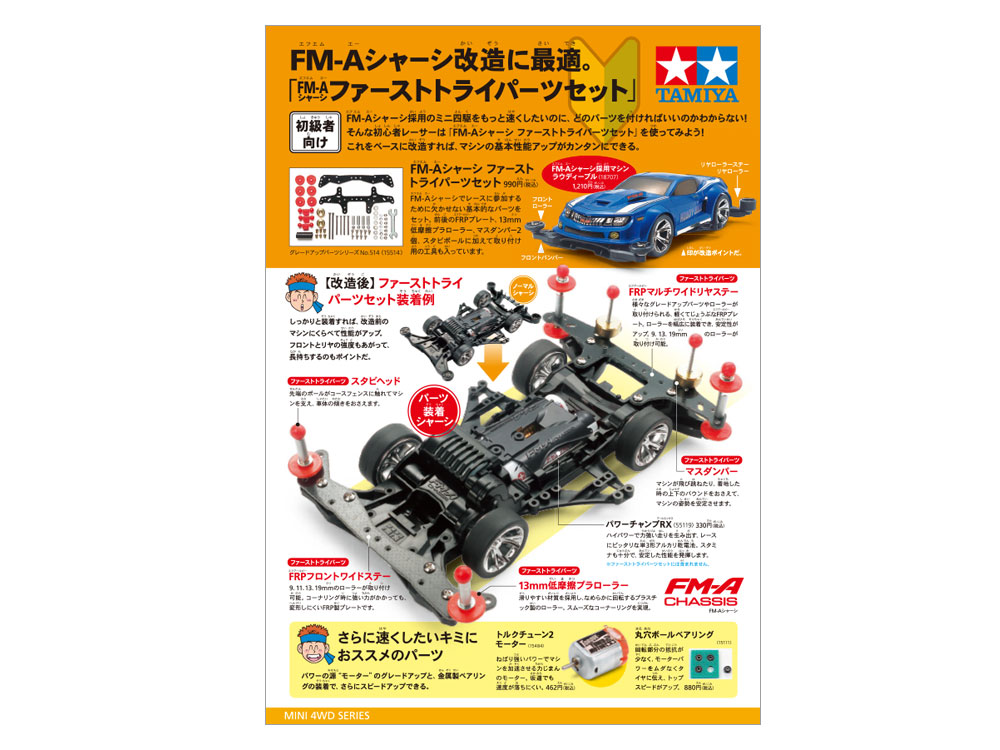
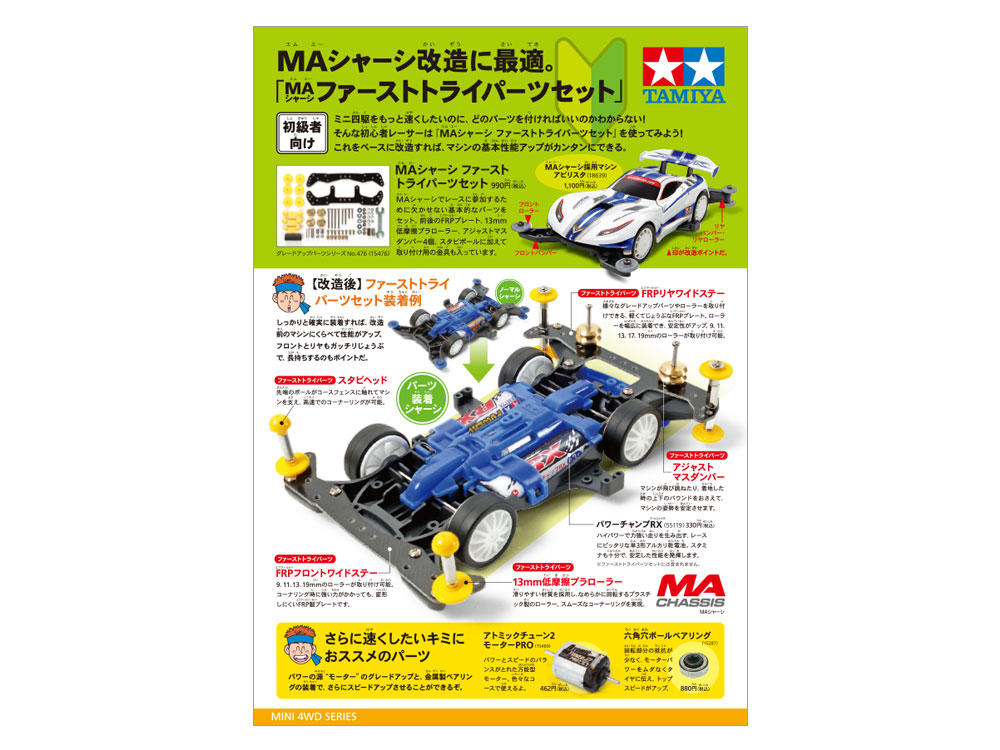
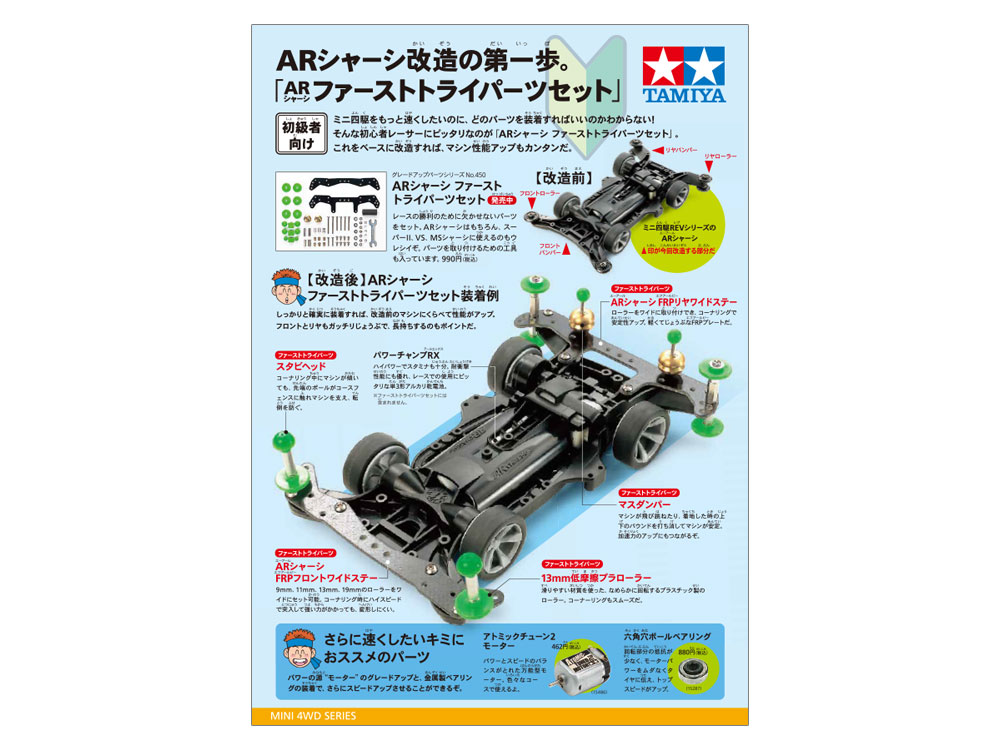
Ideal for modifying machines! “First try parts set”
I want to make Mini 4WD faster, but I don’t know which parts to attach! For such a beginner racer, let’s use the “First Try Parts Set”! Introducing “Pamphlet” according to the chassis as PDF data.

You can download the PDF data of the “Pamphlet” from here (click the image!)

VZ Chassis First Try Parts Set Pamphlet

FM-A Chassis First Try Parts Set Pamphlet

MA Chassis First Try Parts Set Pamphlet

AR Chassis First Try Parts Set Pamphlet

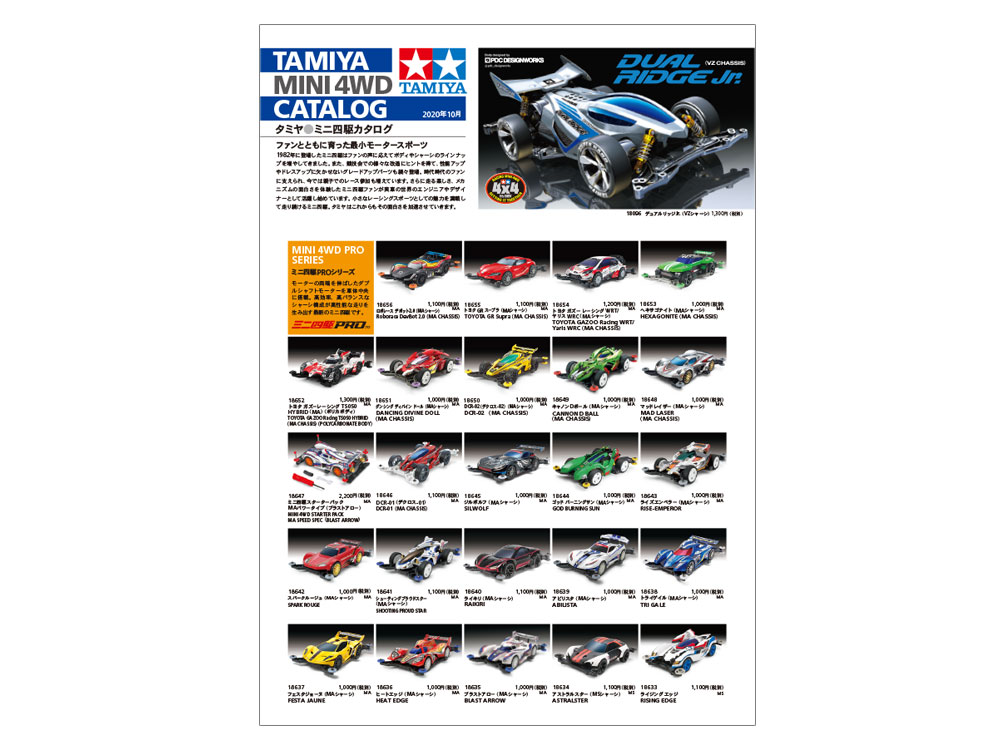
Mini 4WD Lineup Catalog (October 2020 version)

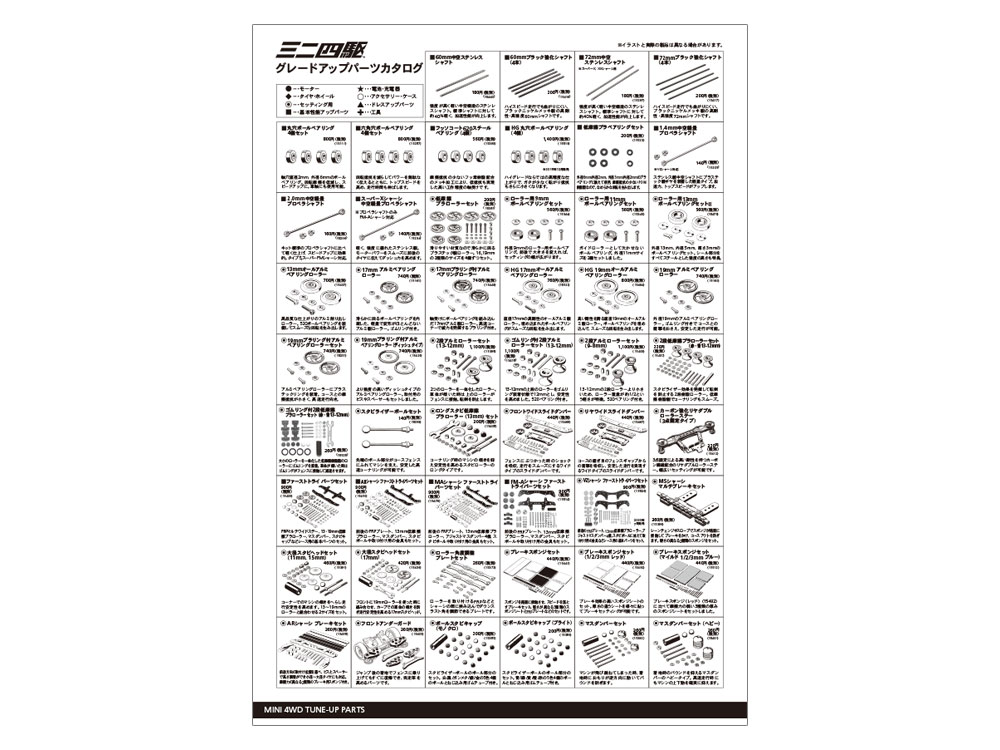
Mini 4WD Upgrade Parts Catalog (October version)

Related Links
⇒ Mini 4WD upgrade parts matching list
⇒ Download Mini 4WD pamphlets (PDF)
⇒ I want to run Mini 4WD → Mini 4WD station shop list

Tamiya RC Live – Introduction of Tamiya RC useful goods and Tamiya RC high-tech course & TB-05R release commemoration, introduction of TB series history


Introduction of Tamiya RC convenient goods and Tamiya RC high-tech course
・ Introduction of useful goods of Tamiya RC
・ Introduction of oil damper assembly technique in new project Tamiya RC high-tech course


TB-05R release commemoration, introduction of TB series history
・ Introducing Tamiya TB series history to commemorate the release of TB-05R
-Looking back on the history and evolution of Tamiya Shaft Drive 4WD Touring, which has continued from the “TB-01” developed based on the drive train of the engine car in 1999.

Appearance
Tamiya Satoshi Maezumi, Riku Sunahara, Takayuki Kono

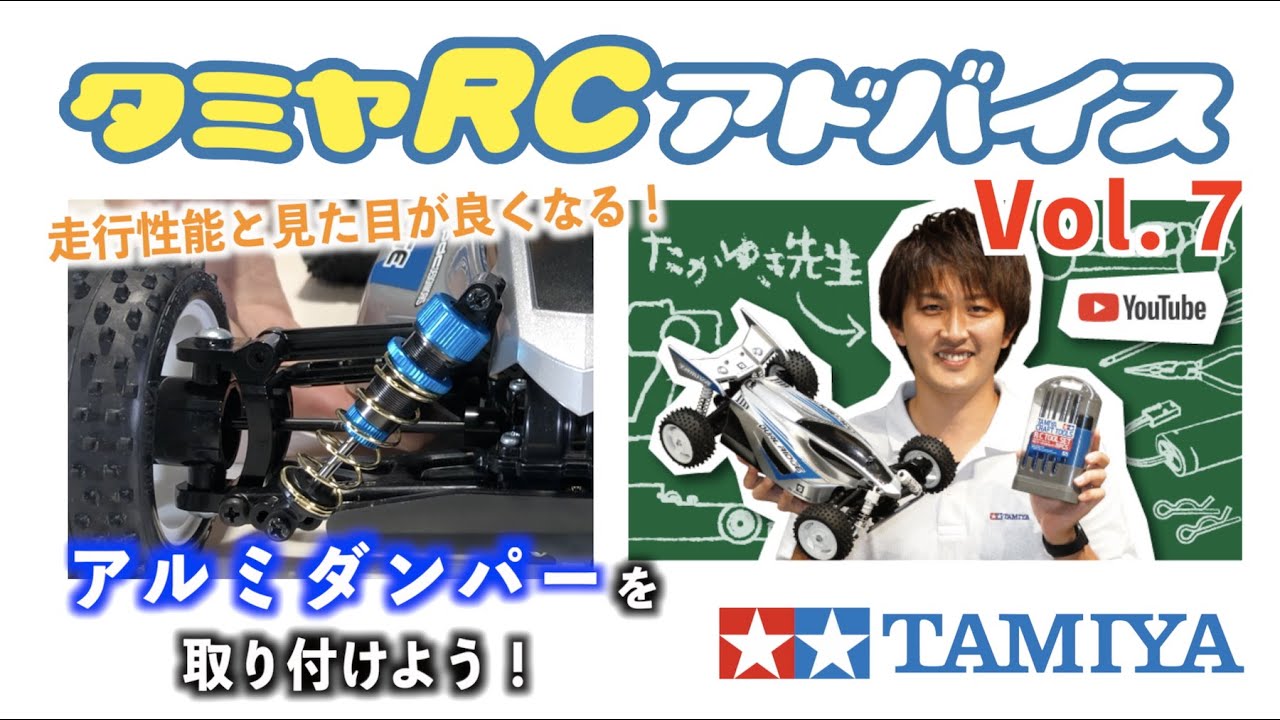
Tamiya RC Advice Vol.7 – Let’s start an RC car with an assembled model! Introducing how to install an aluminum damper


Attach the aluminum oil damper to the XB dual ridge (TT-02B chassis). We will introduce in detail how to assemble the aluminum damper and how to attach it to the completed model.
OP.1993 Clamp type aluminum wheel hub (6mm thickness)
01:35 OP.1152 Damper Oil Air Remover (Super Long)
02:02 Radio pliers
02:14 Damper pliers
02:45 OP.585 φ3mm shim set (3 types, 10 sheets each)
03:01 Maintenance stand (blue)
● Please see this video for more detailed explanation.
10:25 How to bleed air from the air removerTamiya RC Car Grand Prix Vol.26 (YouTube) from around 31:00
15:58 About vehicle height adjustmentTamiya RC Car Grand Prix Vol.26 (YouTube) from around 41:00