
~ Preparation before assembly ~
00:00 Removing parts
00:51 Check parts
01:21 Read the note
01:35 Put the parts in the box
02:25 See instructions
02:40 What you need for assembly
03:10 How to use nipper
04:06 How to use the driver
04:34 How to find parts to use
~ Mini 4WD assembly started! ~
05:58 [1] Assembling the body
07:12 [2] Paste body sticker
07:50 [3] Chassis assembly (roller & skid)
10:15 [4] Assembly of the chassis (tires and wheels)
13:10 [5] Installing the battery bracket (front side)
14:27 [6] Mounting of switch bracket (rear side)
15:55 [7] Installation of pinion gear
16:46 [8] Motor mounting
18:23 [9] Installation of counter gear
19:51 [10] Installing the battery
20:50 [11] Mounting the body
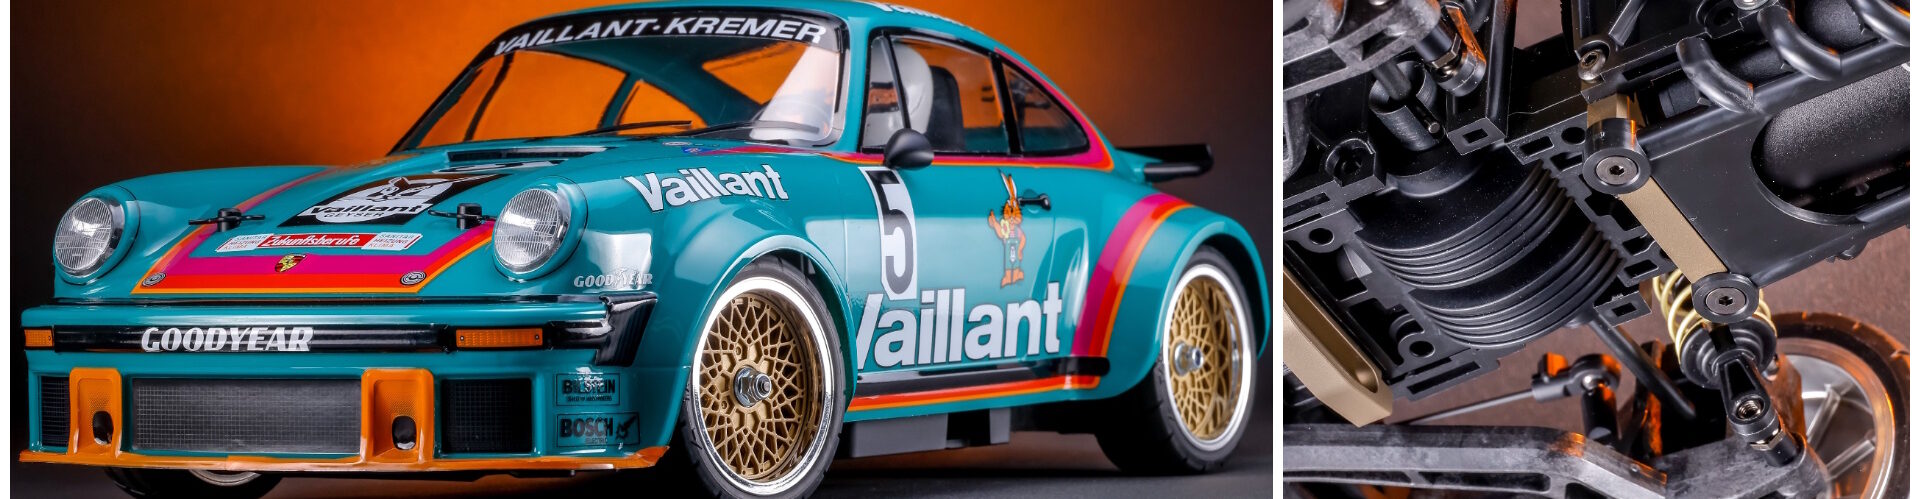
Midship layout (MS chassis) with a motor mounted in the center of the car body, (AR chassis) designed with consideration for airflow (aero) while running, this is a summary of each characteristic in one chassis MA chassis. (MA is an abbreviation for MidshipAERO). The integrated monocoque structure further enhances ease of assembly and maintenance, making it a chassis that can be enjoyed by both beginners and experienced racers.
Mini 4WD MA chassis machine lineup