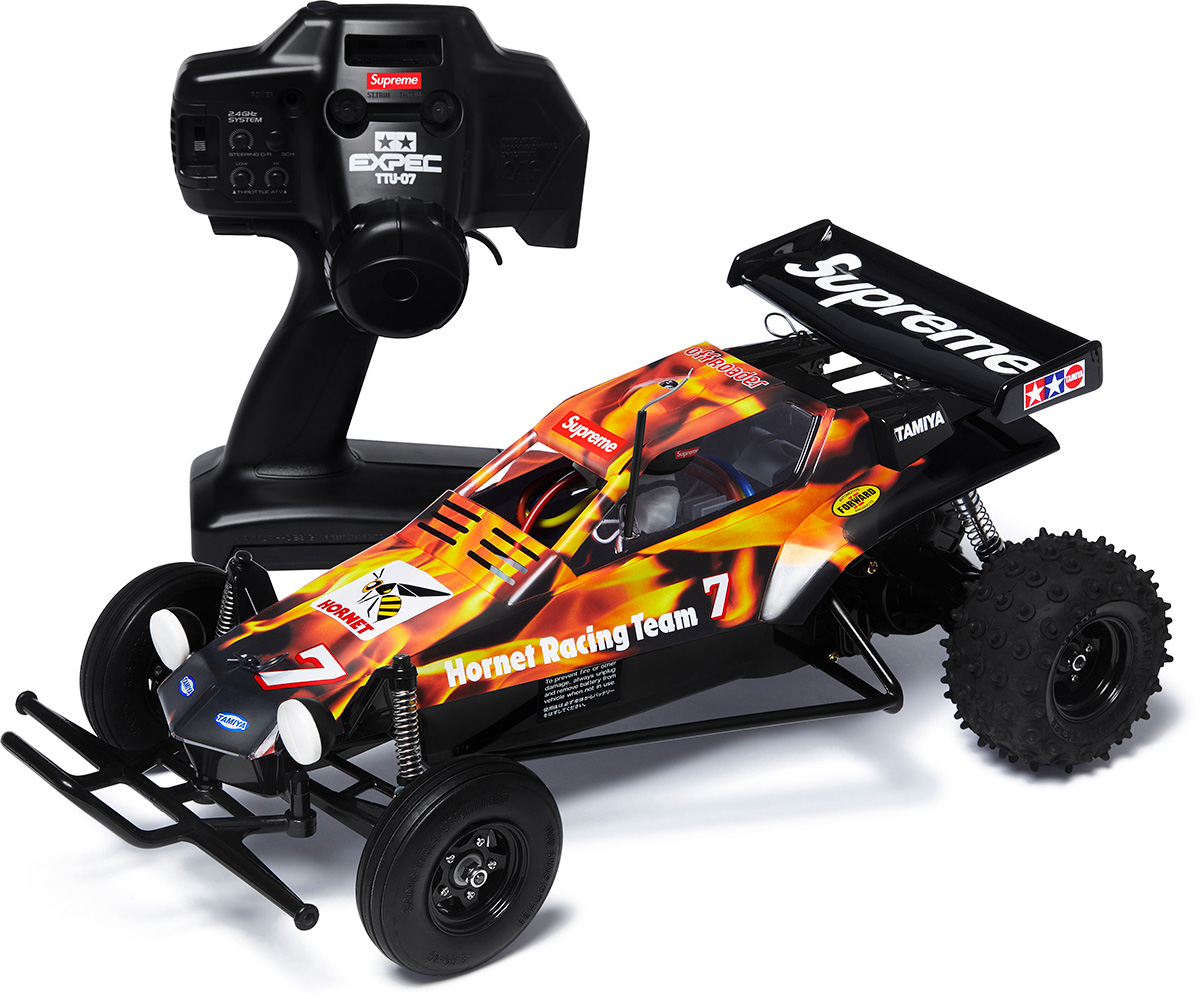
Coming in fall/winter from Supreme New York
Category Archives: Customized Builds
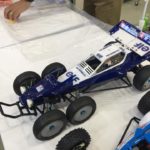
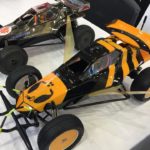
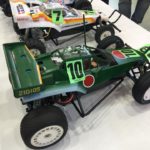
Tamiya RC Grasshopper AIR JAM 2018 Edition
Tamiya 1/10 Electric RC Car Grasshopper Prop Set (with AIR JAM 2018 Special Sticker Sheet)
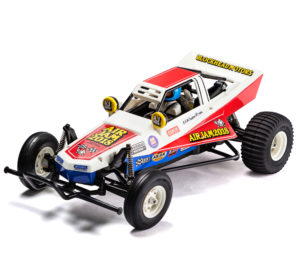
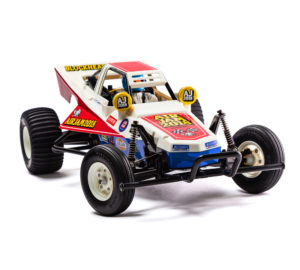
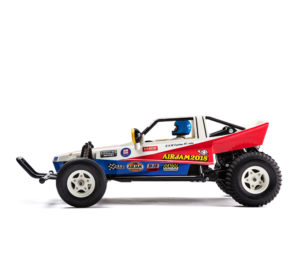
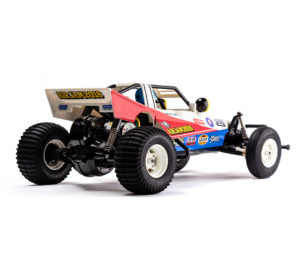

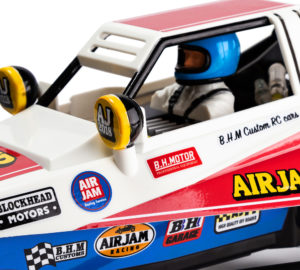
Tamiya’s popular RC car “Grasshopper” assembly kit, a special RC car set with a set of propo (transmitter), running battery & charger, and AIR JAM2018 spec special sticker seat set on sale! By attaching a special sticker at the time of assembly, it is possible to assemble a glass hopper of AIR JAM 2018 specification!
Set contents
· Tamiya 1/10 Electric RC car grass hopper (assembly kit)
· fine spec 2.4 G electric RC drive set (transmitter, receiver, servo, speed controller, running 7.2 V battery, dedicated charger)
· AIR JAM 2018 Special sticker sheet
* As a power supply for the transmitter, 4 AA batteries (sold separately) are required.
※ The image is painted after assembly.
※ AIR JAM 2018 Special sticker sheets are not sold on a standalone basis.
※ This item will be shipped in special packaging, so shipping costs will be separately 1080 yen. Please note.
Source: AIR JAM Store
Matteo’s Tamiya CC-01 Mitsubishi Pajero on a Summer Day in the Mountains
Customizing the Tamiya 70230 Centipede Robot to 18 wheel drive car
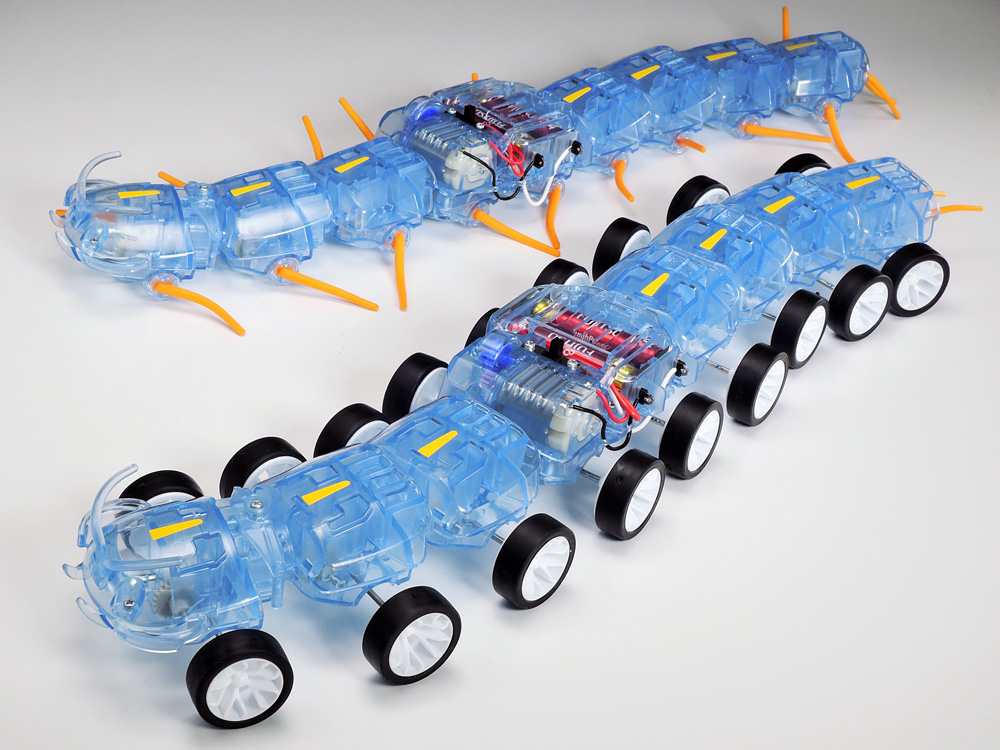
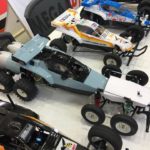
Centipede type 18 wheel drive car
It is remodeling to change 18 legs of centipede robot working set to tires of mini 4WD and to make it 18 wheel drive car. Centipede’s likelihood will be less, but the speed and the running performance are improved compared to the standard legs of the kit. The style where lots of tires are lined with slurries is also impressive. Please do a challenge.
Used items
● Centipede robot working set (70230) × 1 piece
● Low height tire & wheel for mini 4WD × 18 pieces ※ In the example, use 5 sets of low height tire & wheel set Y spoke (15483) . In addition, Super X · XX Low Height Tire & Wheel Set (15442) can also be used.
● 72 mm shaft for mini 4-wheel drive × 9 pcs * In the example, one set of AO-1043 mini 4- wheel drive 2 x 72 mm hexagonal shaft (10) (10314) is used. In addition, a mini 4WD shaft such as 72mm black reinforced shaft (4 pieces) (15417) etc, 72mm in length can be used.
● AAA batteries for traveling × 2
Related information
-
- Tires are lined up on the left and right, the powerful style of 18 wheel drive cars.
-

- Use low-height tires for mini 4WD and 72mm shaft. Adjust the position of the shaft so that the front and rear tires do not hit.
-

- It also improves the running performance on the decoy-bog road.
Please note
 Since the shaft is a thin and hard part, let’s treat it carefully when making it. After attaching the pinion gear and parts to the 72 mm shaft referring to the assembly explanatory diagram, put it from the long shaft of the shaft as shown in the picture and let it pass through the shaft. Hold both sides of the centipede body and lightly press the long shaft against the ground to adjust the position. Please install wheels from both left and right at the same time. As you put on your weight and push it in, it may lead to injury, so be careful and install it. After attaching the wheel it is complete after assembling it like the original centipede robot.
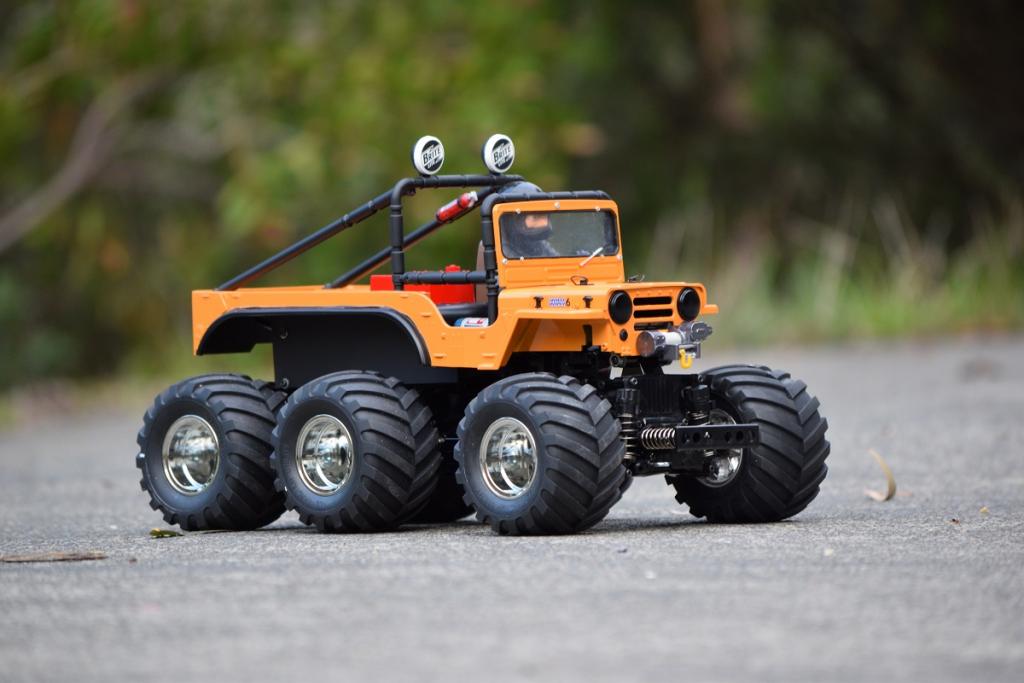
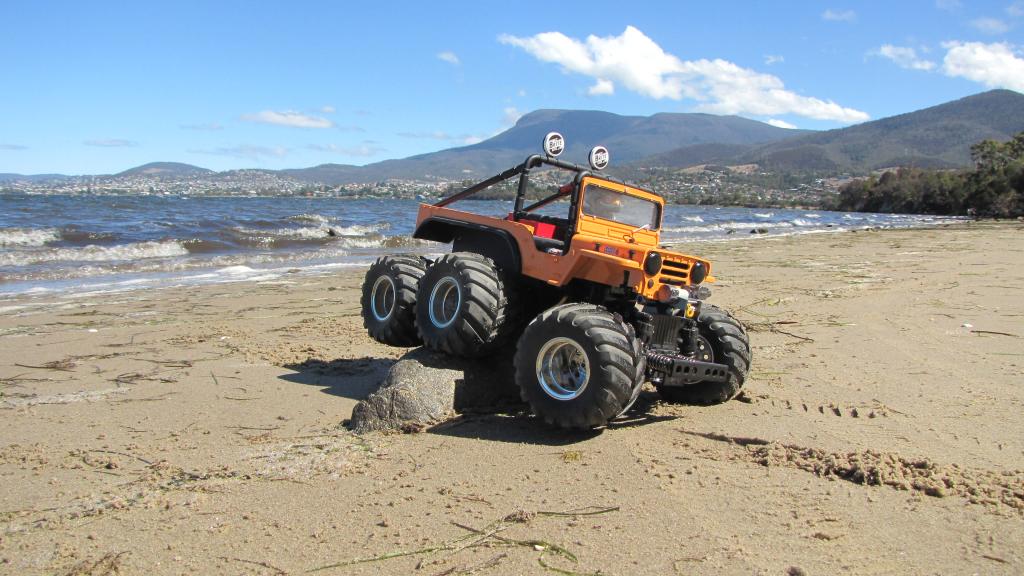
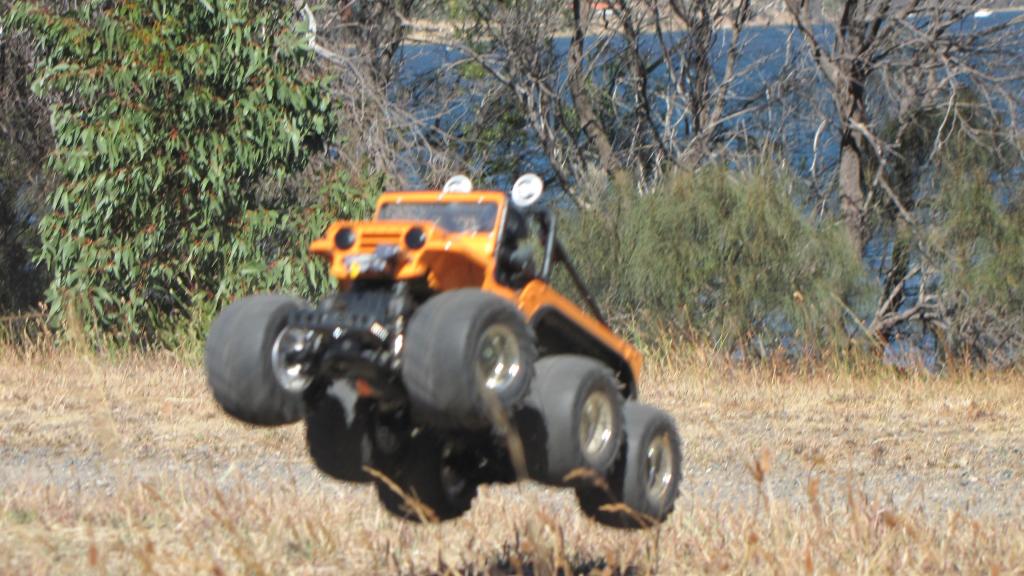
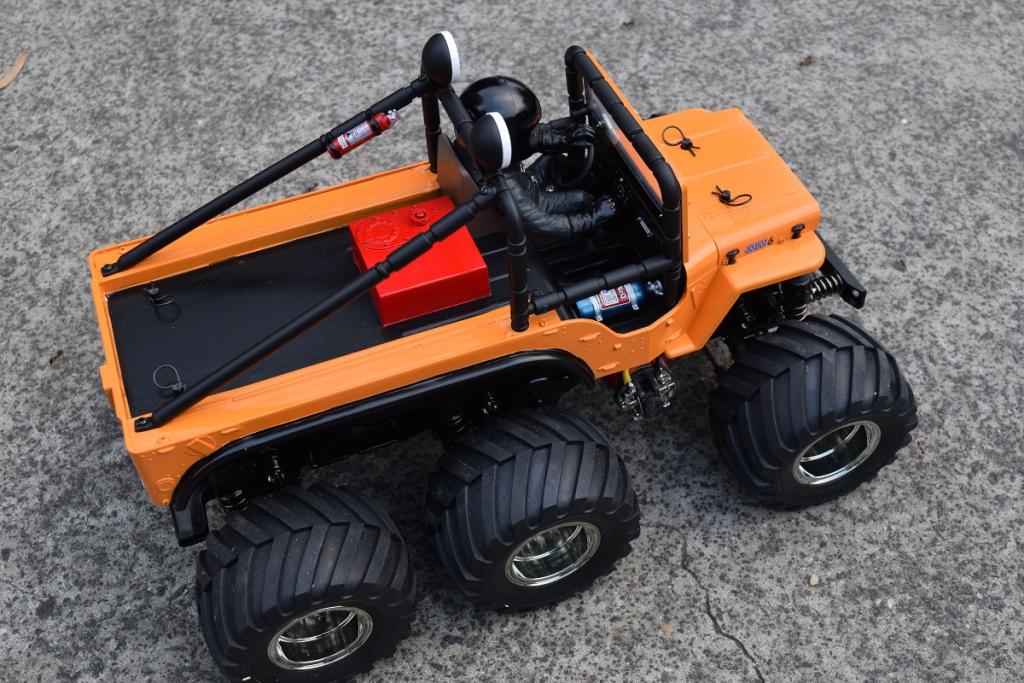
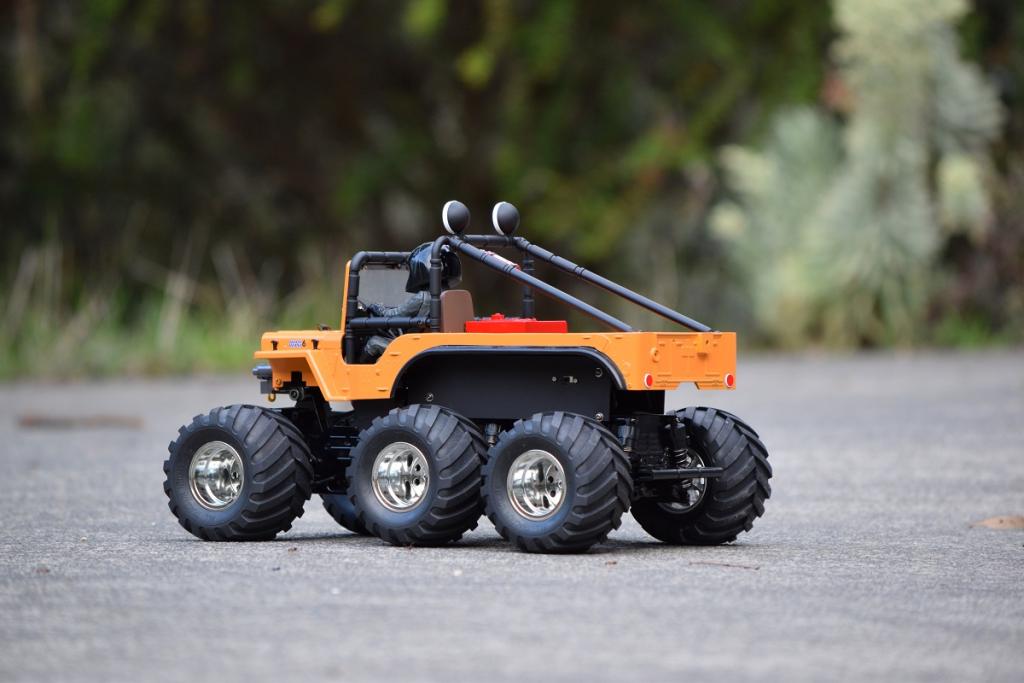
Custom Tamiya Wild Willypede 6×6
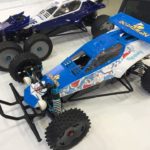
Interesting application of the Tamiya Neo Fighter Buggy body
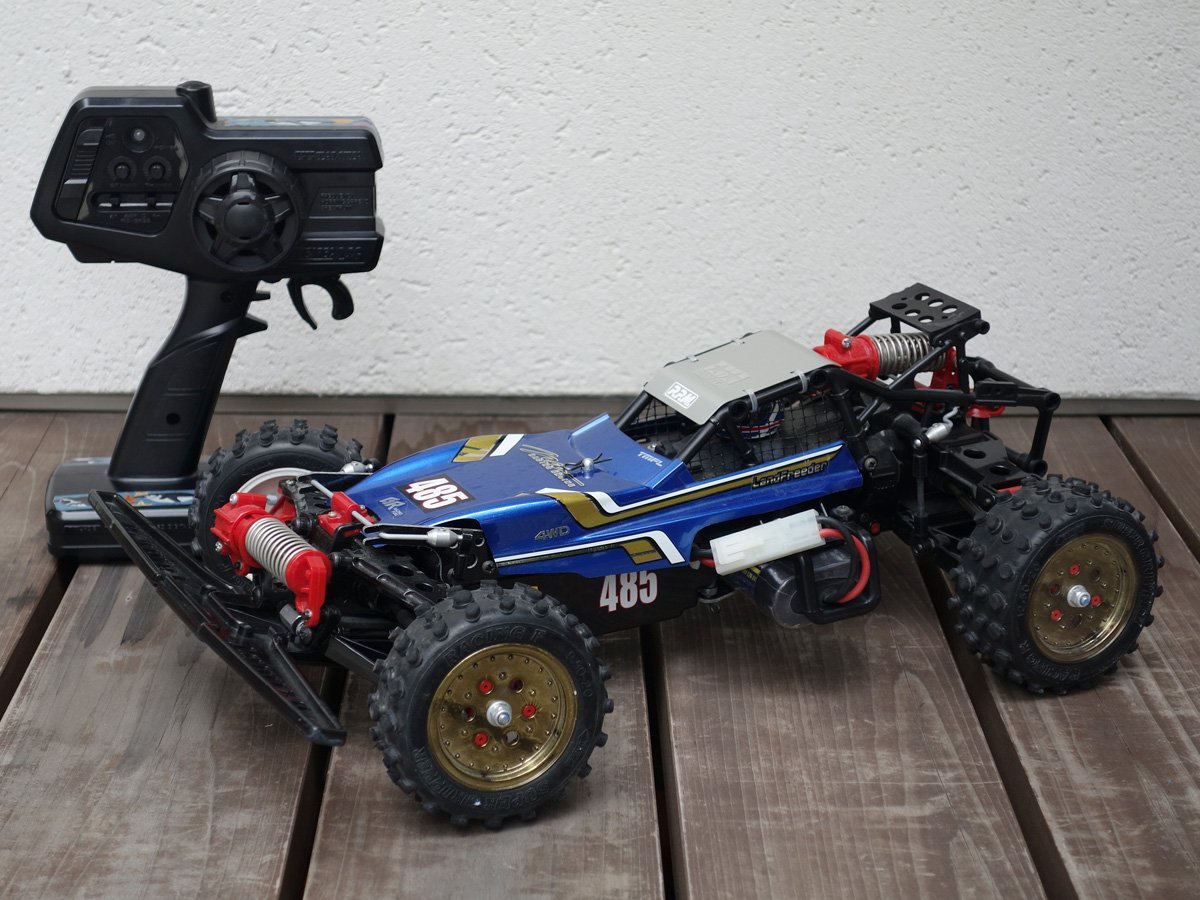
The diverted body was “Neo Mighty Frog”! Even if it is installed in the hot shot chassis, there is no discomfort, so few employees have noticed. Cut line ingenuity is necessary, but please try it!
Source: Tamiya, INC.
10th Modeler Competition Prize-winning work of Tamiya Plamodel Factory Shimbashi
Tamiya Optional parts catalog by RC model chassis (with new addition of TB-05 chassis)

Customize as you like with rich option parts
When getting into control, setting for finishing to a more controllable car and performance improvement are great fun. Tamiya’s RC car has abundant parts for that purpose. (Japanese PDF)
On-road model
-

TB-05 chassis
-

TA 07 chassis
-

TA 06 chassis
-

TB-04 chassis
-

TT-02 chassis
-

F104 chassis
-

RM-01 chassis
-

M-07 CONCEPT
-

M-05 chassis
-

M-06 chassis
Offroad model
-

TT-02B chassis
-

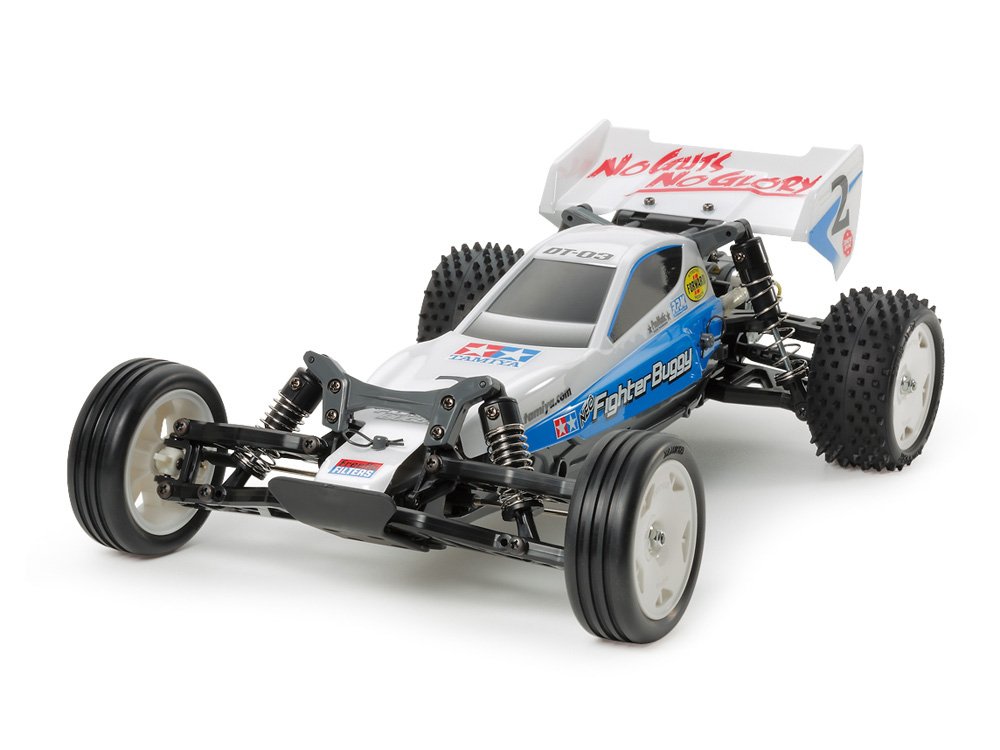
DT-03 chassis
-

MF-01X chassis
-

G6-01 chassis
-

GF-01 chassis
-

WR-02 chassis
-

CC-01 chassis
How could a Tamiya German Police Monster Truck look like?
Kindly provided by Kai from RC Channel Blog
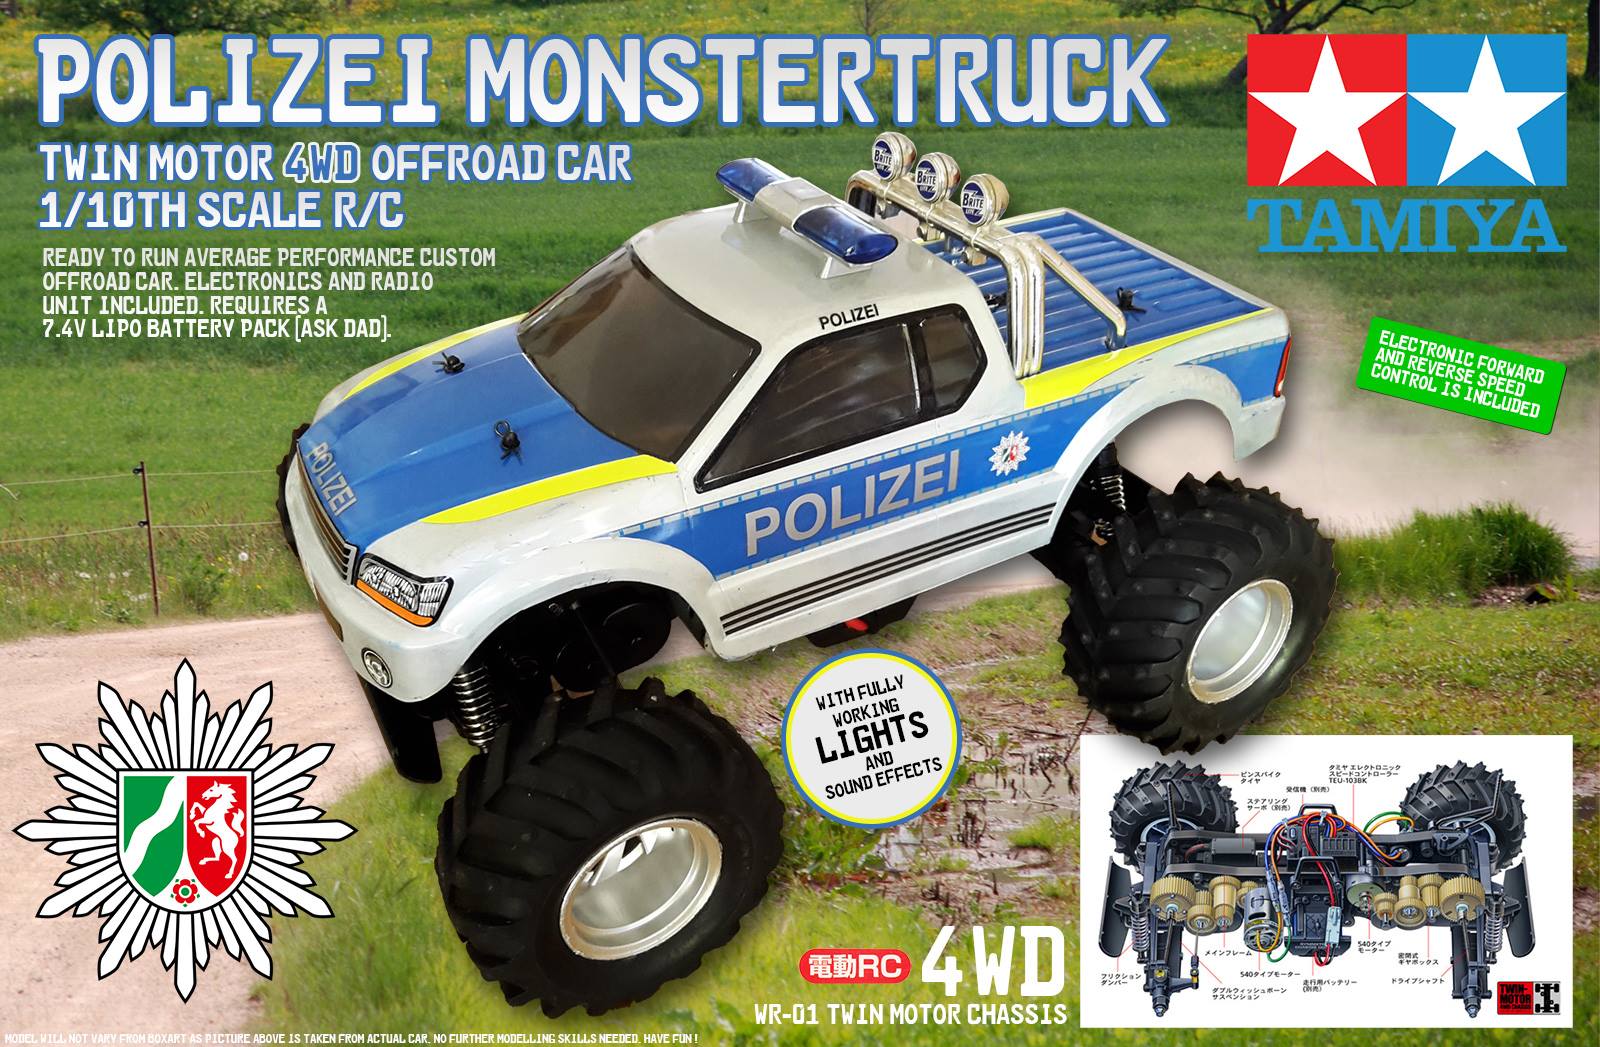
My son desperately wants an R/C monster truck for his birthday and he is a big police fan. Since there is nothing suitable from Tamiya, I created one myself! It’s based on the Twin Detonator (#58309). Fortunately I got a used vehicle in pretty bad condition. The restoration took some time and effort, but it was fully worth it!
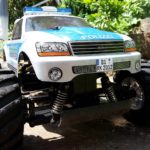
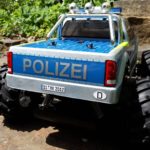

More details about the build can be found at RC Channel Blog